First Steps
After logging in, use this checklist to make the congregation usable for planning.
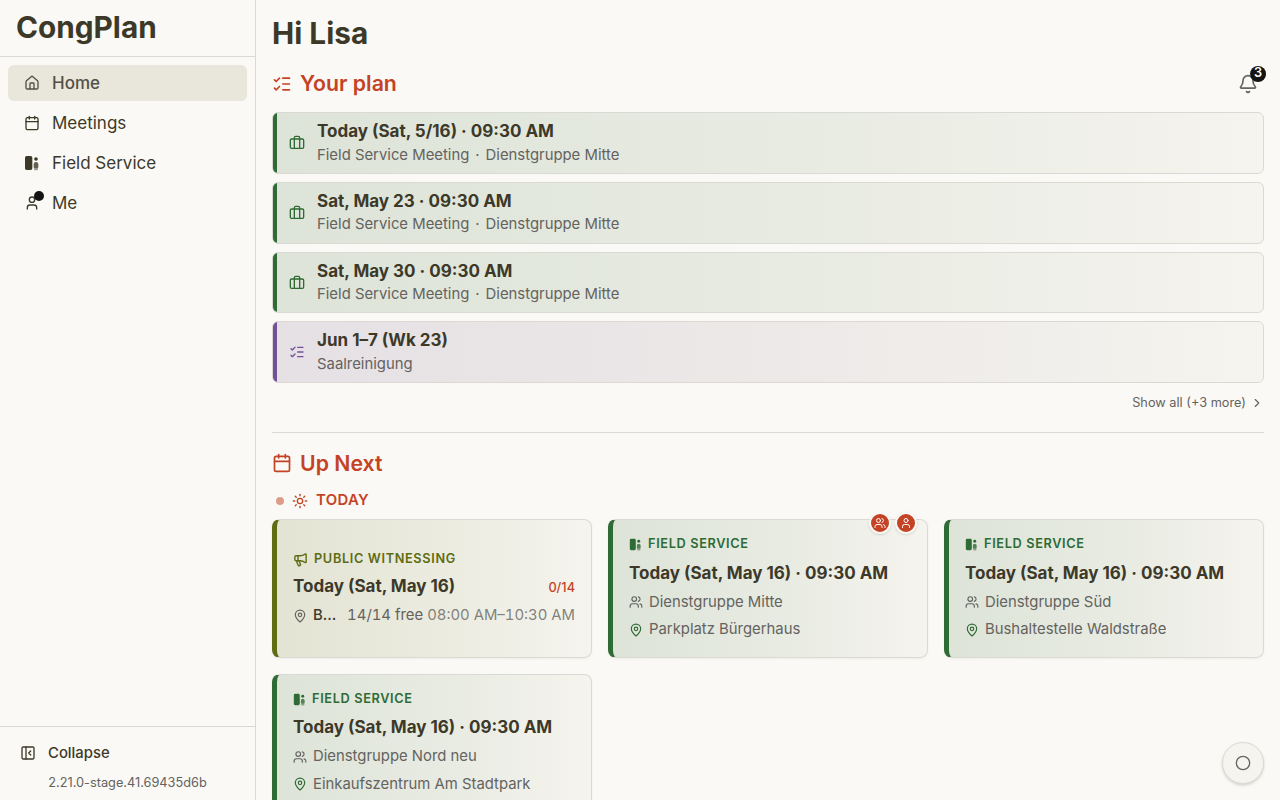
Your Dashboard
The dashboard is the personal starting point. It combines several data sources:
- My Plan — Your upcoming meeting assignments, technical assignments, tasks, field service meetings, and public-witnessing shifts
- What's Next — Upcoming field service meetings and other near-term items
- Quick navigation — Links into meetings, your personal area, and administration where your permissions allow it
Install CongPlan as a PWA after the first login. It makes passkeys, push notifications, and mobile use much smoother.
Navigation
The main navigation contains:
- Home — Your personal overview
- Meetings — Midweek and weekend meetings in list and calendar views
- Field Service — Field service meetings and public-witnessing day views
- User — Your personal hub with plan, absences, notifications, and settings
- Administration — Users, settings, service groups, technical assignments, tasks, imports, and public-witnessing planning, depending on permissions
1. Configure the Congregation
If you registered a new congregation, complete the initial settings:
- Congregation name
- Default language for congregation-wide notifications and meeting terminology
- Country for local formatting and available data fields
- Default meeting times for the midweek and weekend meetings
If you joined an existing congregation, this was already done by an administrator.
2. Invite Users
Create the required user records before sharing invitations:
- Open Administration > Users
- Create users for publishers who should use CongPlan
- Set service group, assignment qualifications, public-witnessing eligibility, and permissions where needed
- Generate an invite link, QR code, or device setup code for each person
Start with the coordinators who maintain meeting assignments, field service meetings, public witnessing, tasks, and user data. Add other publishers after the basic structure is correct.
3. Review Your Personal Area
Open User in the navigation. The personal hub has four areas:
- Plan — Full personal timeline for the next planning range
- Absences — Dates when you are not available
- Notifications — In-app notifications and unread items
- Settings — Appearance, notification preferences, security, app information, and account actions
4. Configure Planning Data
Administrators and coordinators should check these areas before regular use:
- Users — Publishers, assignments, permissions, service groups, and invite status
- Service Groups — Groups, group overseers, assistants, and publishers
- Technical Assignments — Templates, default roles, and assignment suggestions
- Tasks — Cleaning, maintenance, security, and other rotating duties
- Public Witnessing — Plans, locations, weekdays, shifts, and eligibility
- Imports — NW Scheduler backup import and program import
5. Start Planning
Continue with: